# SAML
SAML authentication setup
Configure Quor with SAML authentication.
SAML providers are managed at **Admin Panel** → **Organization** → [SSO
Providers](/deployment/authentication/sso_providers). No configuration files or restarts are needed,
and you can configure multiple providers (enabling more than one at the same time requires the Business plan,
see [Plan Availability](/deployment/authentication/sso_providers#plan-availability)).
SAML works on the standard Quor images.
This guide walks through the setup for Okta. Other identity providers follow a similar process.
Please contact us if you need help with a different identity provider.
## Guide
Navigate to the Okta **Admin Console** → **Applications** → **Create App Integration**.
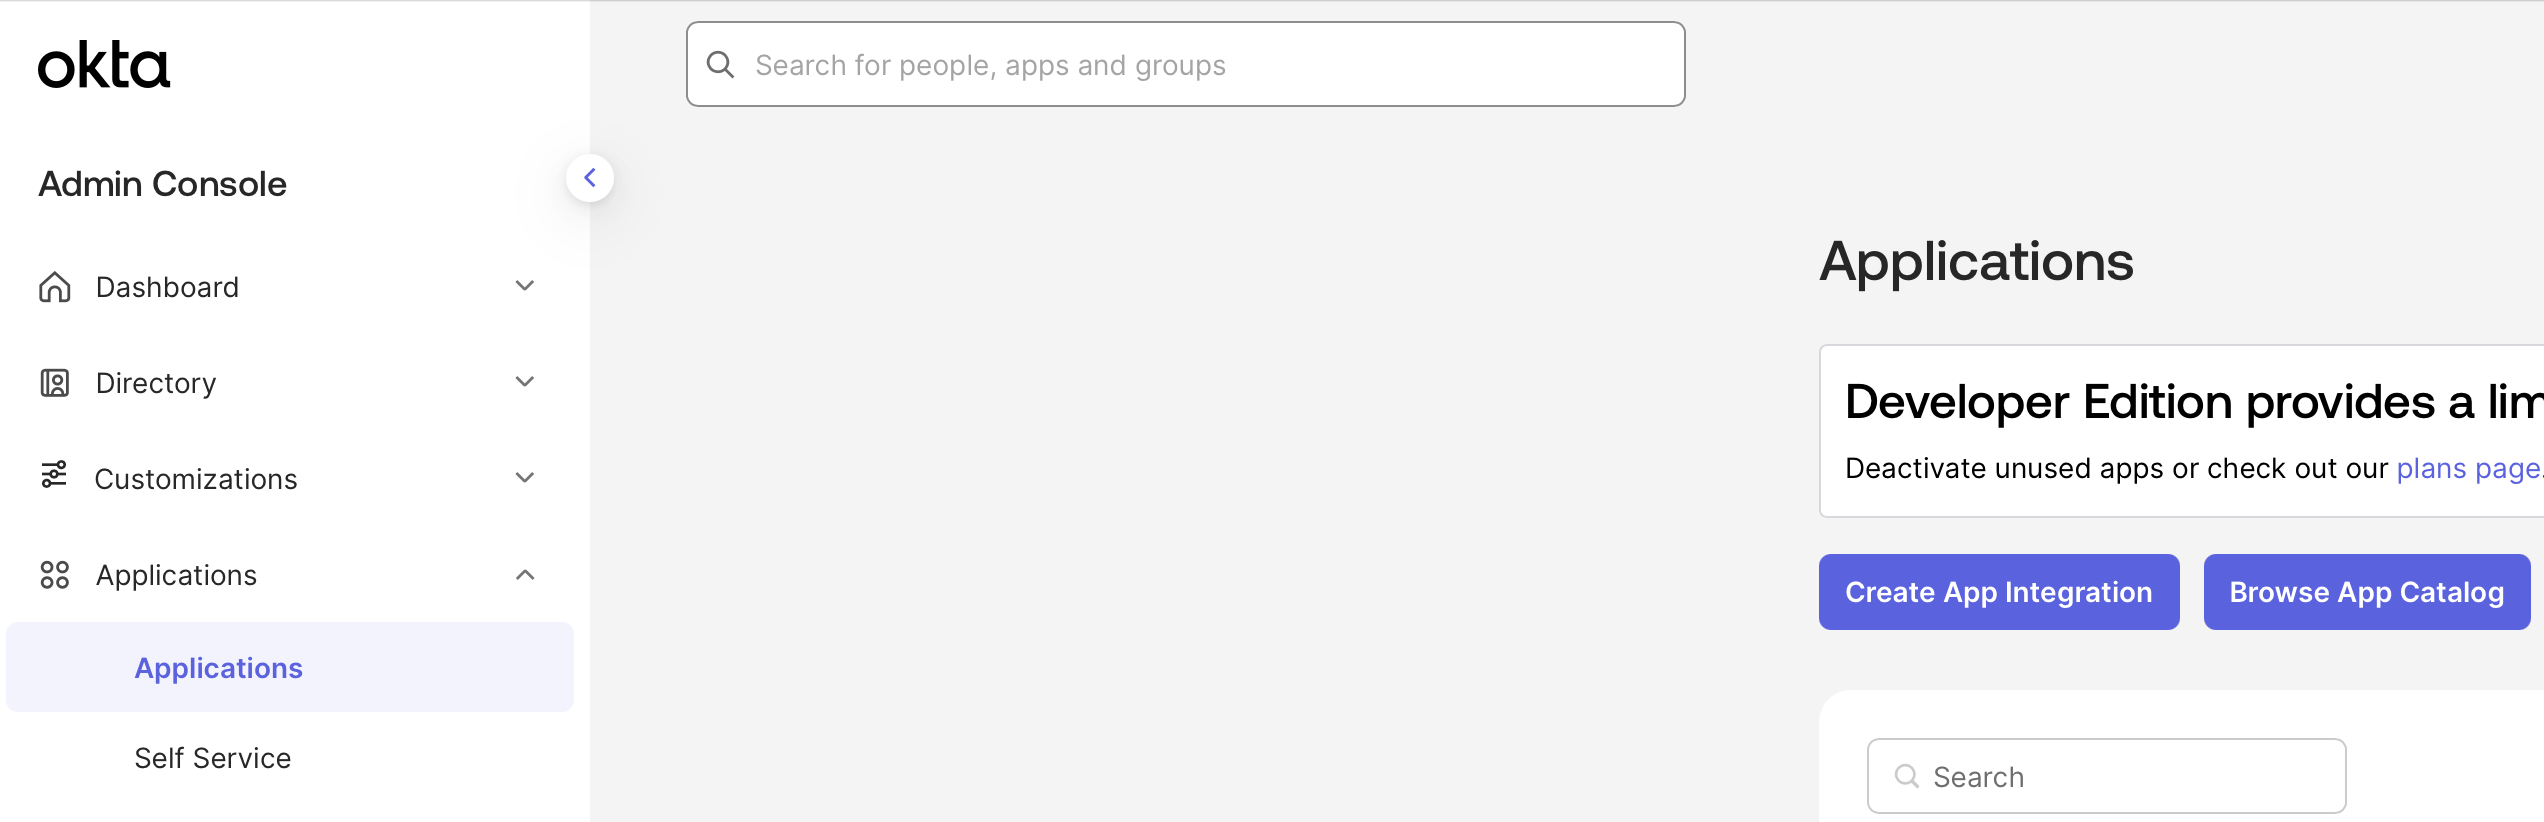 Select **SAML 2.0**.
**Name** your application `Quor` and upload the Quor logo.
If you are white-labeling Quor, you can freely name your application and upload your own logo.
Add a **Single sign-on URL** (the ACS URL, shared by every SAML provider on the instance):
```
https://YOUR_ONYX_DOMAIN.com/auth/saml/callback
```
Add an **Audience URI (SP Entity ID)**. Any stable identifier works,
as long as it matches the SP entity ID you enter in Quor:
```
https://YOUR_ONYX_DOMAIN.com/metadata
```
Add an **Attribute Statement** where **Name** is `email` and **Value** is `user.email`.
Select **SAML 2.0**.
**Name** your application `Quor` and upload the Quor logo.
If you are white-labeling Quor, you can freely name your application and upload your own logo.
Add a **Single sign-on URL** (the ACS URL, shared by every SAML provider on the instance):
```
https://YOUR_ONYX_DOMAIN.com/auth/saml/callback
```
Add an **Audience URI (SP Entity ID)**. Any stable identifier works,
as long as it matches the SP entity ID you enter in Quor:
```
https://YOUR_ONYX_DOMAIN.com/metadata
```
Add an **Attribute Statement** where **Name** is `email` and **Value** is `user.email`.
 Create the application and navigate to the **Assignments** tab to assign users.
Quor needs three values from Okta:
Go to the **Sign On** tab of your application in Okta, copy the **Metadata URL**,
and paste it into your browser. You should see XML like:
```XML
...
```
Copy the `entityID` value.
In the XML from the previous step, find the `ds:X509Certificate` element.
```XML
[Some certificate value here]
```
Copy the certificate value.
Go to the **General** tab of your application in Okta and copy the **Embed Link**.
Navigate to **Admin Panel** → **Organization** → [SSO Providers](/deployment/authentication/sso_providers)
and click **Add Provider**.
Select the **SAML** provider type, give the provider a **Name** (a lowercase slug, e.g. `okta`),
and paste the **IdP entity ID**, **IdP SSO URL**, **IdP x509 certificate**,
and the **SP entity ID** from the Okta application.
If your IdP requires signed requests,
generate a self-signed certificate and enter both values in the provider form:
```bash
openssl genrsa -out sp-private-key.pem 2048
openssl req -new -x509 -key sp-private-key.pem -out sp-cert.pem -days 730 -subj "/CN="
```
After creating the provider, its row shows the exact **ACS URL**.
Confirm it matches the single sign-on URL you registered in Okta,
then sign in through the new option on the login page.
## Upgrading from v4.3 or Earlier
Versions before `v4.4.0` configured a single SAML provider through a `settings.json` file placed in the SAML config
directory (`SAML_CONF_DIR`, default `/app/onyx/configs/saml_config`), with `AUTH_TYPE=saml` set.
That flow uses the same ACS URL as above. On `v4.4.0` and later this configuration no longer enables SAML login,
and `AUTH_TYPE` is planned for full removal in `v4.5`. New installs must use the admin panel flow above.
When you upgrade an existing deployment,
its `settings.json` is imported as an SSO provider entry automatically when the upgraded api server starts,
and existing logins keep working.
Keep the settings file mounted and `AUTH_TYPE=saml` set through the upgrade (the import reads both).
The migrated provider keeps using the ACS URL already registered with your IdP, so nothing changes on the IdP side.
Remove both after the provider appears in the admin panel.
Create the application and navigate to the **Assignments** tab to assign users.
Quor needs three values from Okta:
Go to the **Sign On** tab of your application in Okta, copy the **Metadata URL**,
and paste it into your browser. You should see XML like:
```XML
...
```
Copy the `entityID` value.
In the XML from the previous step, find the `ds:X509Certificate` element.
```XML
[Some certificate value here]
```
Copy the certificate value.
Go to the **General** tab of your application in Okta and copy the **Embed Link**.
Navigate to **Admin Panel** → **Organization** → [SSO Providers](/deployment/authentication/sso_providers)
and click **Add Provider**.
Select the **SAML** provider type, give the provider a **Name** (a lowercase slug, e.g. `okta`),
and paste the **IdP entity ID**, **IdP SSO URL**, **IdP x509 certificate**,
and the **SP entity ID** from the Okta application.
If your IdP requires signed requests,
generate a self-signed certificate and enter both values in the provider form:
```bash
openssl genrsa -out sp-private-key.pem 2048
openssl req -new -x509 -key sp-private-key.pem -out sp-cert.pem -days 730 -subj "/CN="
```
After creating the provider, its row shows the exact **ACS URL**.
Confirm it matches the single sign-on URL you registered in Okta,
then sign in through the new option on the login page.
## Upgrading from v4.3 or Earlier
Versions before `v4.4.0` configured a single SAML provider through a `settings.json` file placed in the SAML config
directory (`SAML_CONF_DIR`, default `/app/onyx/configs/saml_config`), with `AUTH_TYPE=saml` set.
That flow uses the same ACS URL as above. On `v4.4.0` and later this configuration no longer enables SAML login,
and `AUTH_TYPE` is planned for full removal in `v4.5`. New installs must use the admin panel flow above.
When you upgrade an existing deployment,
its `settings.json` is imported as an SSO provider entry automatically when the upgraded api server starts,
and existing logins keep working.
Keep the settings file mounted and `AUTH_TYPE=saml` set through the upgrade (the import reads both).
The migrated provider keeps using the ACS URL already registered with your IdP, so nothing changes on the IdP side.
Remove both after the provider appears in the admin panel.